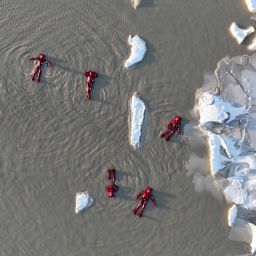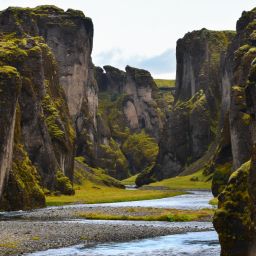
Iceland’s majestic glaciers are a compelling reason to visit this mid-Atlantic country, and many of the most accessible glaciers are found in the southeast region. During your visit, it’s likely you’ll want to take some souvenir images of these wonderful landforms. If that’s the case, here’s what you need to know about photographing glaciers in south east Iceland.
What to photograph
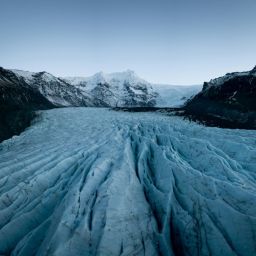
Photographing the glacier up close. A glacier’s deep crevasses and uneven terrain makes it a suitably interesting subject for some close-up shots. As the glacier slides down the valley, it behaves like hard plastic, flexing which causes it to split and crack. Here the ice can take on a vivid blue hue which provides a pleasing contrast to the whites and greys of the main body of the glacier. It’s also worth zooming in on the moraines that are carried by the glacier, such as layers of ash embedded in the glacial ice or rocks that have become attached as the ice has frozen around them.
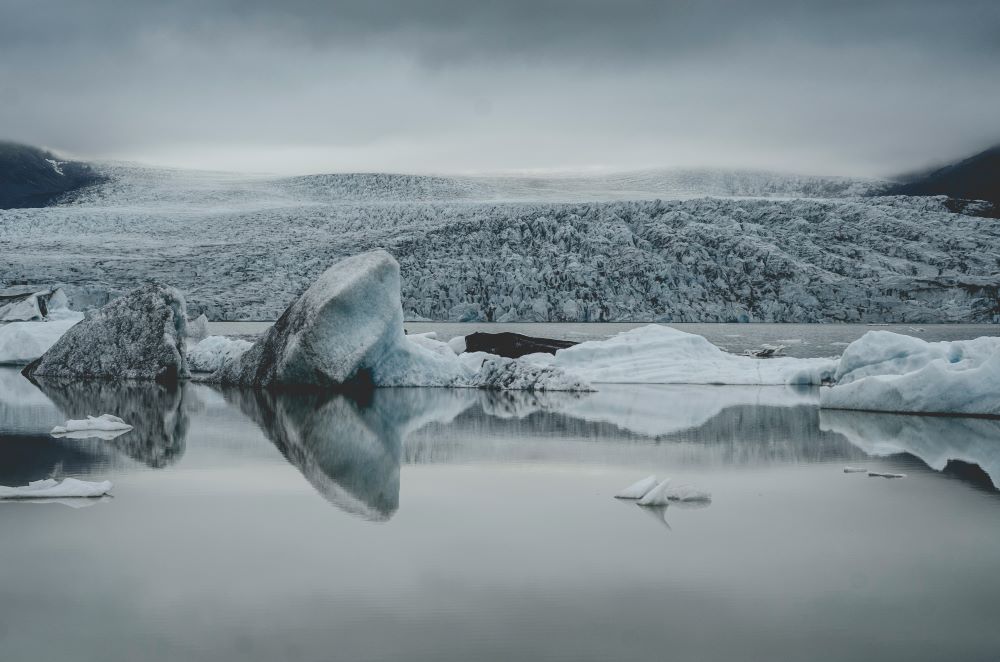
The setting and surrounding landscape
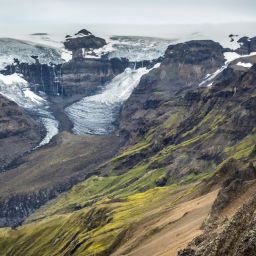
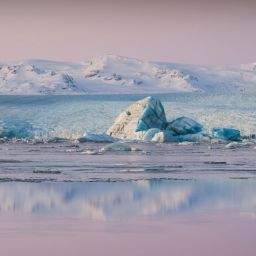
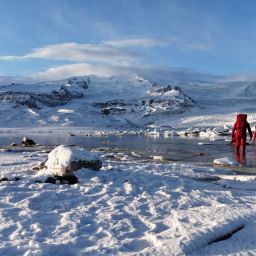
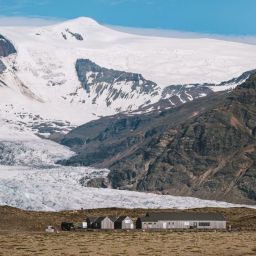
You’ll also want to capture some of the surrounding landscape to provide context. after all, glaciers make up 11% of Iceland’s total area and Vatnajökull alone represents 8% of the country’s terrain. Taking a wide angle shot enables you to tell more of the story of how glaciers shape the landscape, from the moraines that it carries to the icebergs that calve into the lagoon at its snout. A dull day isn’t going to do such a scene justice. If possible, instead pick a day when the sky is likely to provide a contrast with the ice, either through blue skies or dramatic clouds.
Iceberg-strewn lagoons
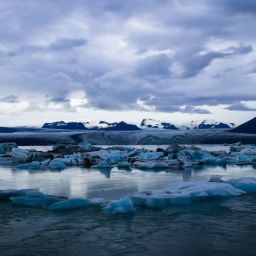
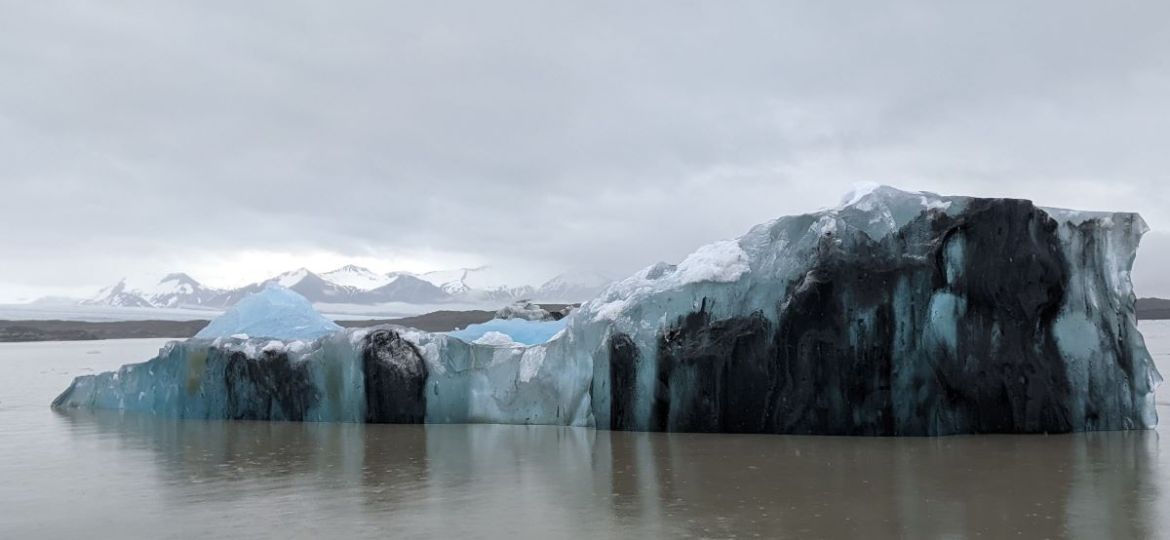
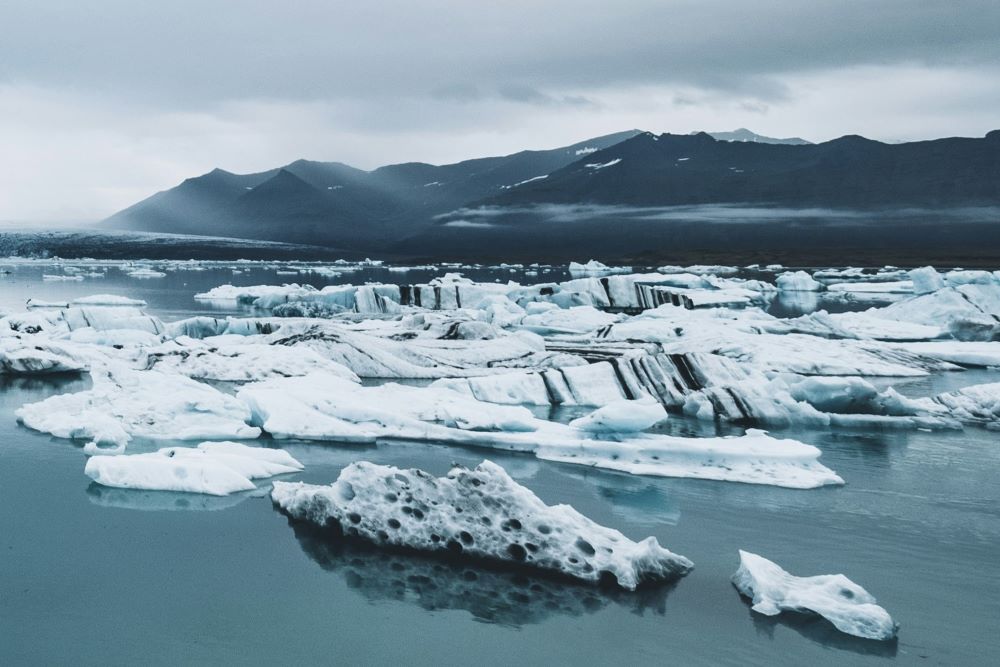
Another popular subject is the lagoon itself, where icebergs bob around on the frigid water. Myriad shapes and sizes, these floating chunks of ice add plenty of foreground interest to a wide angle shot as well as making a photogenic subject in their own right. Play around with composition, moving along the shoreline to change your perspective. You might even catch a glimpse of a seal – or several – swimming nearby or hauled out on the ice. If luck really is on your side, you might even be watching as the icebergs calve for the body of the glacier and tumble into the water. The most famous glacier lagoons are Fjallsarlon glacier lagoon and Jokulsarlon glacier lagoon.
The icebergs on Diamond Beach
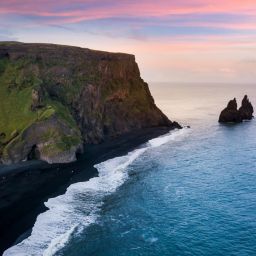
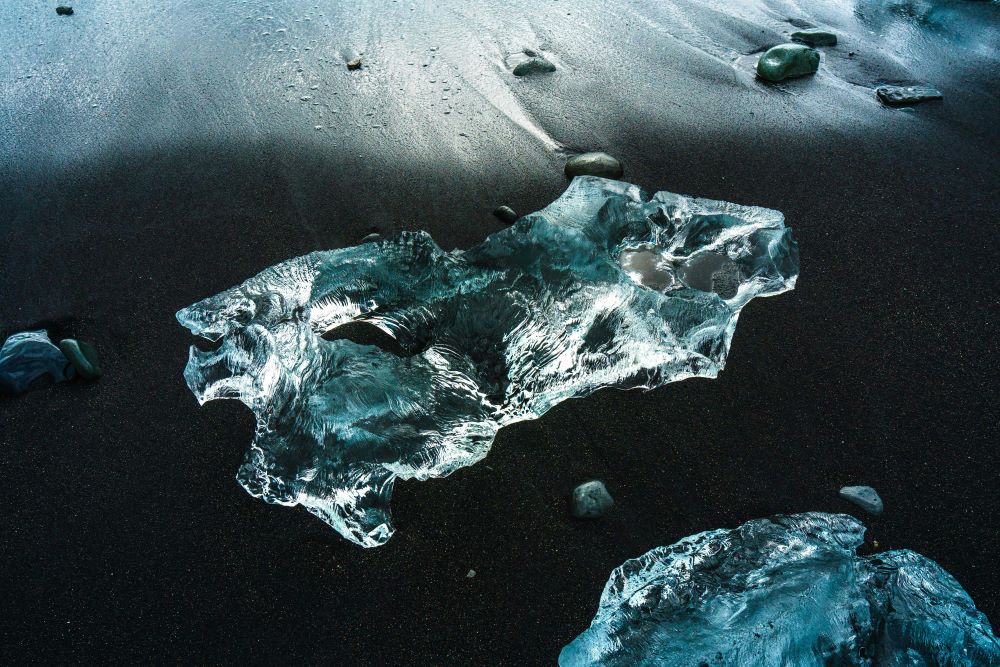
A short drive from Fjallsárlón you’ll find Diamond Beach. Here, Atlantic breakers wash the icebergs that calve from the nearby Breiðamerkurjökull glacier into Jökulsárlón that then wash upon the black sand beach. It’s a magical place for photographers. The waves sculpt the ice into myriad shapes; if you’re lucky enough to find one that’s been worn through, it will provide a natural frame for your shot of the ocean. Practice timing shots so that you capture the moment that the wave breaks over the surface of the iceberg, or opt for a longer exposure to achieve soft focus water trails in the sand. In sunny conditions, position yourself so that the light shines through the ice, illuminating it and turning it a soft shade of yellow. Sunrise and sunset are the best times to visit as the light is soft and its pink and orange tones will add beauty to the already striking scene.
The Northern Lights above the glacier
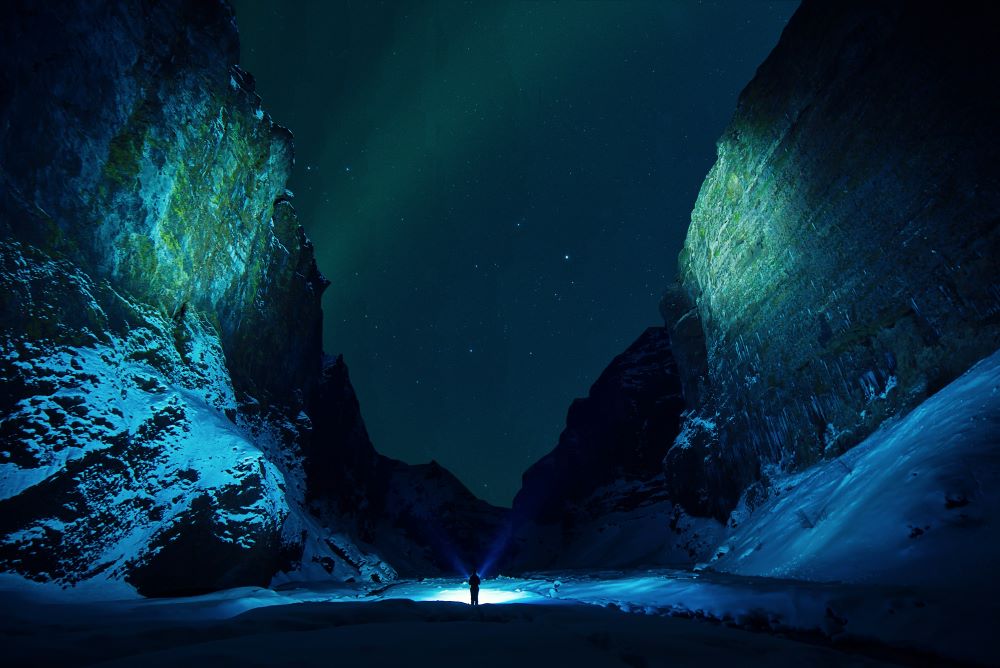
From late August to the middle of April, south east Iceland’s glaciers make enticing backdrops for those hoping to photograph the Northern Lights. Though it’s too dangerous to go up onto the glacier after dark, you can easily and safely access the shore of glacial lagoons such as Fjallsárlón and Jökulsárlón. Diamond Beach is another preferred location; if the aurora sticks around, try both to compare the different perspectives. Regardless, you’ll need to find a level spot on which to position your tripod and be prepared to wait – the aurora borealis doesn’t work to a fixed schedule. But if you get lucky, for that reason the images you capture will be very special indeed.
Challenges to overcome
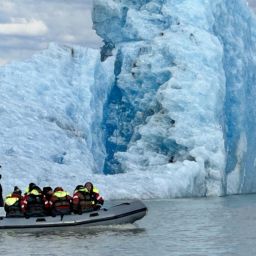
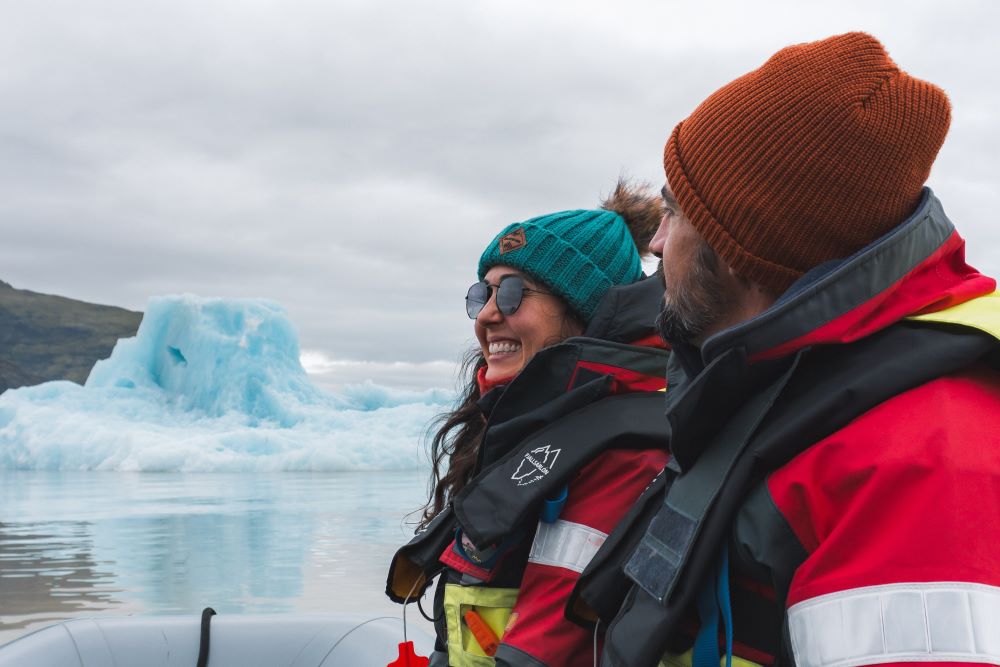
If you’ve booked a place on a Zodiac tour, this will get you much closer to the snout of the glacier than if you remain on the shore. However, it can be a bumpy ride, so if you plan to take pictures, choose a faster shutter speed to ensure your images aren’t blurry. This is especially true if what you are trying to photograph – a seal, perhaps – is moving. For the best results, be patient, and wait for the guide to ease off the throttle before grabbing your shots. At Fjallsarlon you can also book a PRIVATE BOAT TOUR so that you will have the boat and sailor exclusively for yourself, this tour is popular for photographers. The guides are trained in finding the best locations for taking photographs of Fjallsarlon glacier lagoon, Fjallsjokull Glacier, the floating icebergs and beautiful mountain ridge.
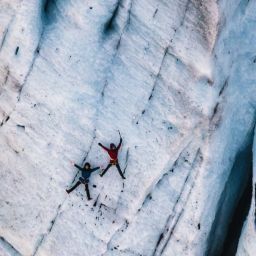
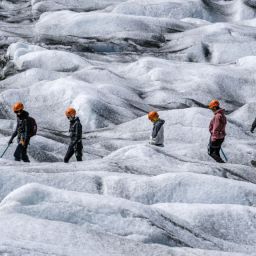
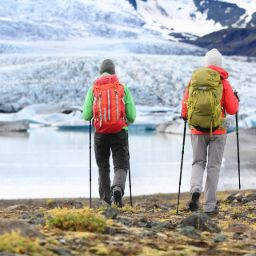
When you hike up onto the glacier, bear in mind that you’ll be carrying your own camera gear. It’s a good idea to choose lenses and tripods carefully to minimise weight and to ensure that they can be safely transported in a backpack so that you can stay hands-free. Most smartphones are easily up to the job of capturing high quality images and have the advantage of slipping easily into a pocket, so you might simply opt for that instead.
Glare from the ice can be an issue on bright days, so consider knocking it down a notch and using a polarising filter to create more intensity in the sky. Pay attention to light and shade; when snapping people, think about positioning them so that the sun is beside them so that they aren’t silhouetted against the ice or squinting because the sun is in their eyes. Think carefully about your exposure; play around with your settings to avoid under or over-exposed images. We do not recommend that going onto a glacier without an experienced guide. The ARCTIC GLACIER HIKE can be booked as a private tour also for a group of photographers.
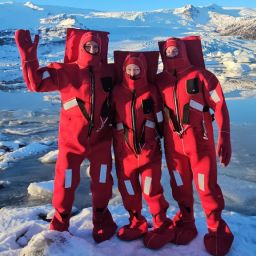
If you’re out with your camera after dark, such as to shoot the aurora borealis, then you’ll need to prepare for extended periods out in the cold. This also applies when you are up on the surface of the glacier. Don’t underestimate how quickly your battery can drain; pack a spare and keep it in an inside pocket where your body heat will help keep it warm. You’ll also need to stay cosy yourself, so dress appropriately and also consider specialist gloves that you won’t have to remove to operate a screen.
The advantage of booking a private tour with a professional guide
It’s possible to arrange a private guided hike up onto the glacier’s surface, close to Fjallsárlón, where you’ll be well-placed to get some great shots. You can set your own pace, which means that you can take an unhurried approach to composing your shots and experimenting with settings in the changing weather conditions until you achieve the images you’ve come for. The guides know the glacier well and can also point you in the direction of the most photogenic spots.
Getting to southeast Iceland’s glaciers
Getting to Fjallsárlón, the jumping off point for your glacier adventure, is easy. To drive yourself, follow Route 1, Iceland’s ring road, east if you’re coming from Keflavik Airport or Reykjavik. The journey will take about five hours in normal conditions so if you’re planning on staying a while to photograph the glacier in a range of different conditions, then it’s worth booking an overnight stay nearby. There are numerous hotels, hostels, B&B in the area.
No matter whether you’re a pro-snapper or simply want to grab some souvenir pictures with your phone, Iceland’s glaciers are a rewarding subject and definitely worth the long drive east. Why not join us at Fjallsárlón and let us show you why these magnificent landforms look so good through a lens?


