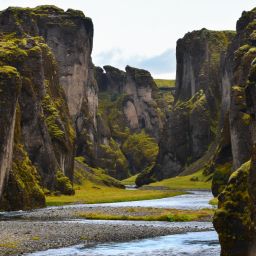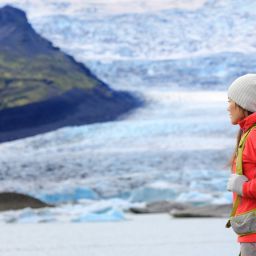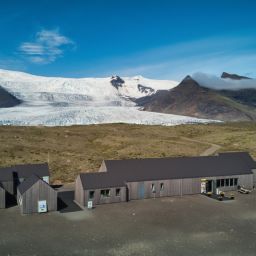
Vatnajökull is Europe’s largest glacier, making it a dream destination for photographers eager to capture the raw, ethereal beauty of Iceland’s glaciers. Known for its vast expanse of glistening ice and sweeping landscapes, Vatnajökull is a world-class location for capturing one-of-a-kind photos. In this guide, you’ll find tips on getting the best shots of the ice caves, information on the nearby Fjallsárlón glacial lagoon, and recommendations on camera settings, gear, and essential items for glacier walking.
Why Vatnajökull Is a Photographer’s Paradise
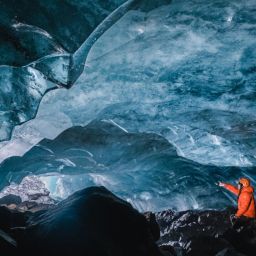
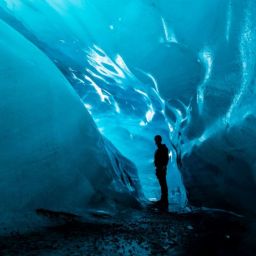
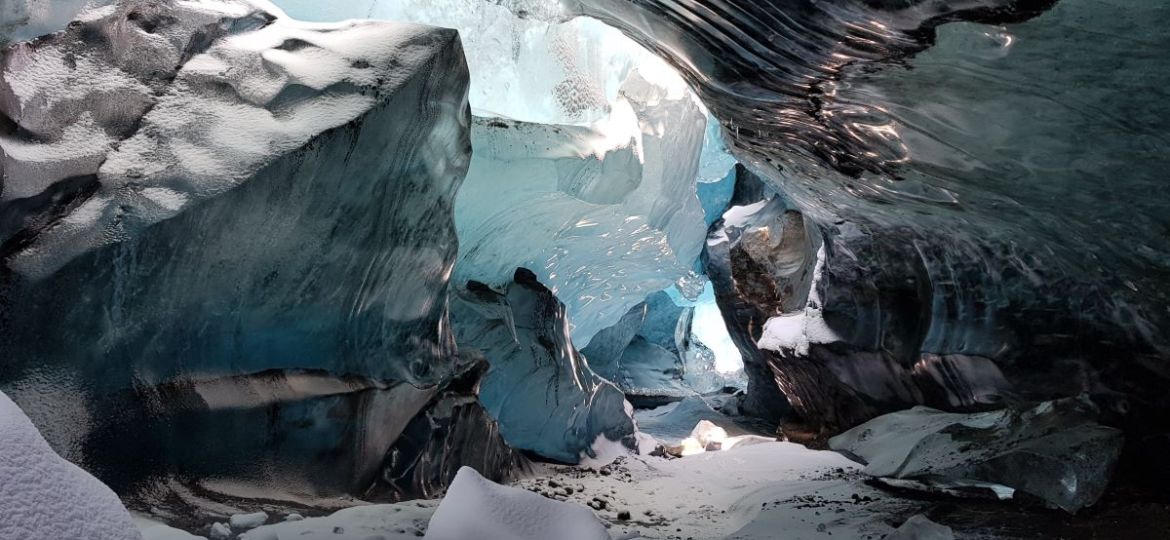
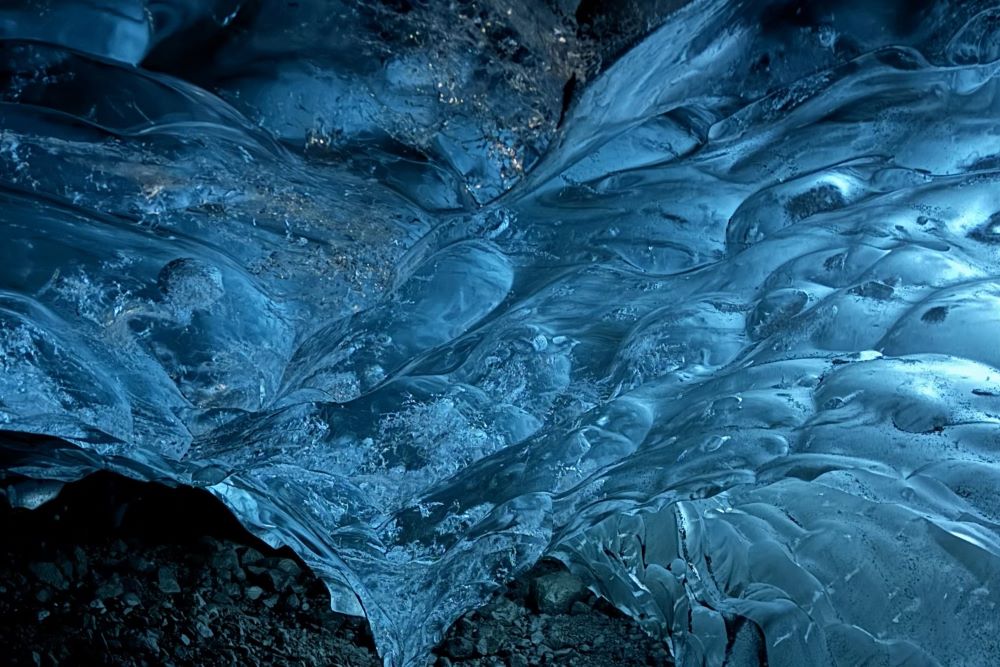
Vatnajökull is more than just ice—it’s a geological marvel that boasts otherworldly landscapes shaped by millennia of freezing and thawing, volcanic activity, and glacial movement. The ice caves, formed each winter as meltwater flows through the glacier, create intricate passageways of shimmering blue ice. These caves vary in size, shape, and color every year, making each visit unique. The nearby Fjallsárlón glacial lagoon, filled with floating icebergs, is another ideal location for capturing powerful shots.
Preparing for Your Glacier Photography Adventure
Photographing Vatnajökull’s ice caves requires preparation, both in terms of gear and physical readiness. Here’s a quick rundown of the essentials:
Warm and Waterproof Clothing
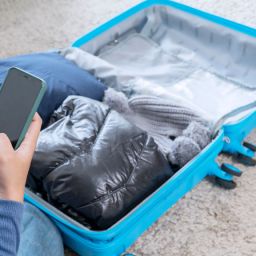
Iceland’s weather is unpredictable, and the temperatures inside ice caves can be freezing. Dress in layers and bring a waterproof jacket and pants. Gloves, hats, and thick socks are also essential.
Sturdy Hiking Boots
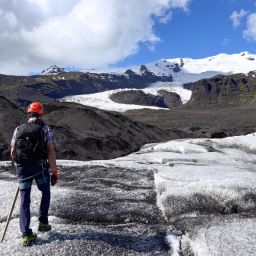
Waterproof hiking boots are essential. Furthermore, ice caves are slippery, and ice grips or crampons will help you keep your footing on the glacier. Most tour operators provide crampons, but it’s best to confirm beforehand.
Camera Gear Recommendations
You’ll need the right camera equipment to capture the beauty of Vatnajökull’s ice caves. Here are some must-haves for your photography gear:
Camera Body: Any DSLR or mirrorless camera will work well, but a full-frame sensor can help capture more details, especially in low-light conditions typical of ice caves.
Lenses: A wide-angle lens (14-24mm) is ideal for capturing the cave’s expansive views and tight spaces. Additionally, a macro lens can be helpful for close-ups of intricate ice textures and formations.
Tripod: Low light is common inside ice caves, and a tripod will allow you to use slower shutter speeds without compromising image quality. Lightweight, portable tripods are best for hiking and glacier walking.
Polarizing Filter: This can help cut glare off the ice, especially when photographing reflections or the surface of the ice lagoons.
Extra Batteries and Memory Cards: The cold can quickly drain camera batteries, so bring extras and store them close to your body to keep them warm.
Recommended Camera Settings for Ice Cave Photography: Once inside the ice caves, it’s time to set the correct camera settings to take advantage of the unique lighting and reflections.
ISO: Since light levels can be low, start with an ISO around 400–800. Higher-end cameras can often handle ISO 1600 without too much noise, but lower ISO settings are always better if you use a tripod.
Aperture: Use a wide aperture (f/2.8 to f/5.6) to capture as much light as possible in darker areas. For deeper shots with greater focus on the background and foreground, try f/8 or smaller.
Shutter Speed: Experiment with longer exposures (1–2 seconds) if you’re using a tripod, as they can bring out the rich blue hues of the ice. For handheld shots, keep your shutter speed above 1/60 to avoid blurring.
White Balance: Set your white balance to a cool setting or adjust it to “Auto” and plan to fine-tune it during post-processing to emphasise the blue tones. Alternatively, a custom white balance (4500-6000K) can be set to bring out the true colours of the ice.
RAW Format: Shooting in RAW format allows for greater flexibility in post-processing. You can enhance the colours, tones, and clarity without losing image quality.
Fjallsárlón: A Nearby Photographic Gem
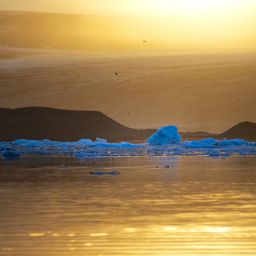
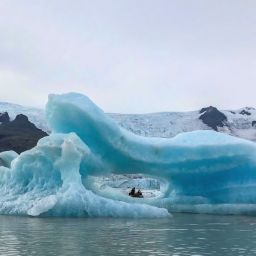
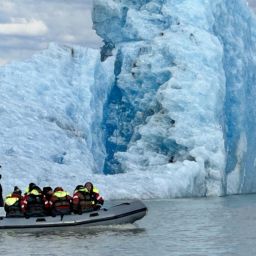
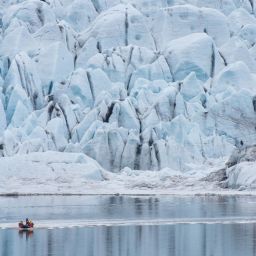
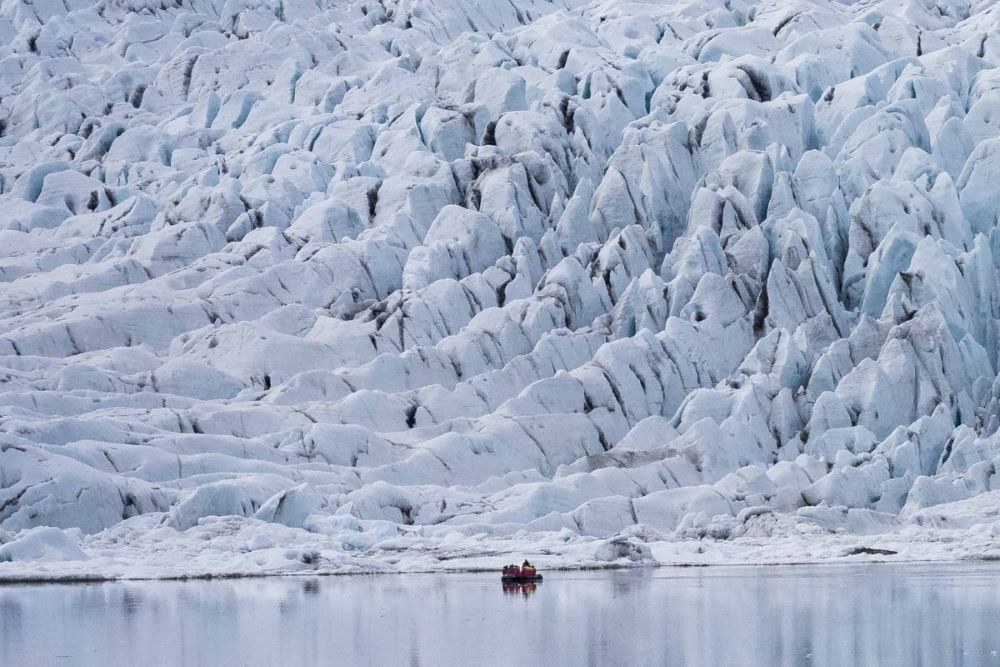
Just a short distance from Vatnajökull lies Fjallsárlón, a glacial lagoon close to its larger counterpart, Jökulsárlón glacier lagoon. However, Fjallsárlón offers a more serene experience with fewer crowds, making it an ideal spot for photographers seeking solitude and reflection shots. Icebergs break off from the glacier, drifting across the lagoon’s glassy surface, creating beautiful reflections and adding scale to your photos. The PRIVATE BOAT TOUR is a popular tour among photographers as you sail close to the towering glacier making close ups shots of crevasses and details of the glacier more visual.
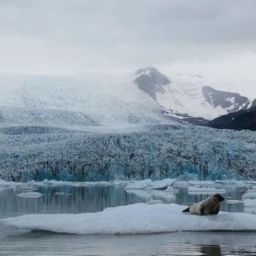
Consider visiting Fjallsárlón at sunrise or sunset to capture the soft, golden hues as they illuminate the icebergs. This location is also a fantastic spot to capture wildlife, as seals are sometimes seen lounging on the ice or swimming through the lagoon. A telephoto lens (70-200mm) helps capture close-up shots of the seals or distant icebergs.
Tips for a Successful Glacier Photography Tour
Book Tours with a tour operator that offers tours when there are less people: Ice cave tours can be popular, so booking an early or after lunch tour can result in many people being at the caves at the same time. The reason is that most tour operators offer morning and afternoon departures to maximize the number of guests they can operate each day. At Fjallsarlon Tours timings are carefully thought of so that our guests can enjoy a quieter time in the caves, offering better conditions for photography or even a private tour. Check out VATNAJOKULL PREMIUM ICE CAVE TOUR for more information.
Be Ready for the Weather: Iceland’s weather is famously unpredictable, so be prepared for sudden changes. Fog, snow, and sunshine can all appear within a few hours, adding unique moods to your photos.
Hire a Guide: Going with a guide is essential for safety and ease of access when visiting ice caves. Many guides are also skilled photographers who can offer helpful tips for capturing the best shots. It is not safe to enter ice caves without a trained guide.
Practice Patience: Ice caves can be challenging environments for photography. Give yourself time to experiment with settings, angles, and perspectives to get the shots you envision.
A Memorable Experience During Your Iceland Visit
Vatnajökull’s ice caves offer a once-in-a-lifetime photography experience. From the shimmering blue interiors to the stunning landscape surrounding the glacier, every corner of Vatnajökull National Park presents new photographic opportunities. Nearby Fjallsárlón provides a quieter spot with beautiful reflective shots of icebergs and wildlife, adding another layer to your Icelandic photography portfolio.
With the proper preparation, equipment, and a sense of adventure, capturing the ice caves of Vatnajökull will leave you with breathtaking images and memories to last a lifetime. So pack your camera, embrace the cold, and prepare for an unforgettable photographic journey through Iceland’s frozen landscapes.
FAQ
Do I need a permit to photograph the ice caves in Vatnajökull?
No special permits are required for photography, but you do need to join a guided tour to access the ice caves for safety reasons.
When is the best time to photograph Vatnajökull’s ice caves?
Winter (November to March) is the best time, as ice caves are formed during this season and are the safest to explore. The blue hues are most vibrant in mid-winter.
How do I get to Vatnajökull and Fjallsárlón?
Vatnajökull is located in southeastern Iceland, about a five-hour drive from Reykjavík. Vatnajökull and Fjallsárlón glacier lagoon are easily accessible by car along the Ring Road, and plenty of parking is available. Parking is free at Fjallsarlon.
Can I take a drone to photograph Vatnajökull?
Drones are usually not allowed in Vatnajökull National Park, check with your tour provider and respect the environment and other visitors.


